5 User Registration - Reference Documentation
Authors: Burt Beckwith
Version: 1.0-RC3
5 User Registration
Most of the plugin's controllers are intended to be part of a backend admin application, but the Registration and Forgot Password workflows are expected to be user-facing. So they're not available in the admin menu like the User, Role, and other backend functionality - you'll need to expose them to your users.One way to do this is to replace the defaultlogin.gsp that's provided by the Spring Security Core plugin with this plugin's version. You can do this by running grails s2ui-override auth - see the section on configuration for more details. If you do this your users will have links to both workflows from the login screen: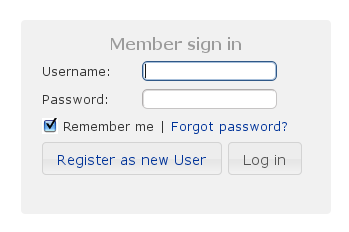
Registration
Navigate to/register/: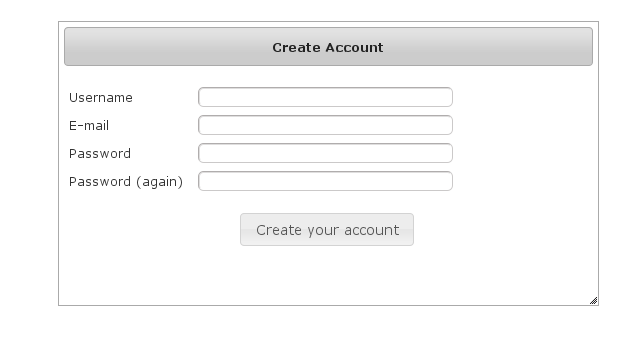 After filling out valid values an email will be sent and you'll see a success screen:
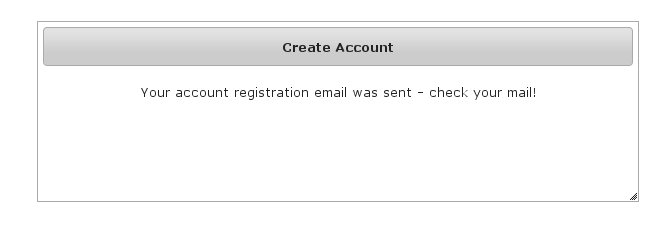 Click on the link in the email:
 and you'll finalize the process, which involves enabling the locked user and pre-authenticating, then redirecting to the configured destination:
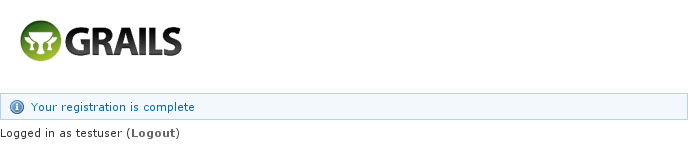
Configuration
The post-registration destination url is configurable ingrails-app/conf/Config.groovy using the postRegisterUrl attribute:grails.plugin.springsecurity.ui.register.postRegisterUrl = '/welcome'
grails.plugin.springsecurity.successHandler.defaultTargetUrl value will be used, which is '/' by default.You can customize the subject, body, and from address of the registration email by overriding the default values in grails-app/conf/Config.groovy, for example:grails.plugin.springsecurity.ui.register.emailBody = '...' grails.plugin.springsecurity.ui.register.emailFrom = '...' grails.plugin.springsecurity.ui.register.emailSubject = '...'
emailBody property should be a GString and will have the User domain class instance in scope in the user variable, and the generated url to click to finalize the signup in the url variable.In addition, each new user will be granted ROLE_USER after finalizing the registration. If you want to change the default role, add more, or grant no roles at all (for example if you want an admin to approve new users and explicitly enable new users) then you can customize that with the defaultRoleNames attribute (which is a List of Strings):grails.plugin.springsecurity.ui.register.defaultRoleNames = [] // no roles
grails.plugin.springsecurity.ui.register.defaultRoleNames = ['ROLE_CUSTOMER']
Mail configuration
By default the plugin uses the Mail plugin to send emails, but only if it installed. This is configurable by registering your ownMailStrategy implementation - see the section on configuration for more information. The plugin assumes that the Mail plugin and an SMTP server are already configured.Notes
You should consider the registration code as starter code - every signup workflow will be different, and this should help you get going but is unlikely to be sufficient. You may wish to collect more information than just username and email - first and last name for example. Rungrails s2ui-override register to copy the registration controller and GSPs into your application to be customized.If there are unexpected validation errors during registration (which can happen when there is a disconnect between the domain classes and the code in RegisterController they will be logged at the warn or error level, so enable logging to ensure that you see the messages, e.g.log4j = {
…
warn 'grails.plugin.springsecurity.ui.SpringSecurityUiService'
…
}RegisterControllerand its GSPs assume that your User domain class has ans2ui-overridescript) if you don't need an email confirmation step or add an email field.
RegistrationCode search
The plugin uses itsgrails.plugin.springsecurity.ui.RegistrationCode domain class to store a token associated with the new users' username for use when finishing the registration process after the user clicks the link in the generated email (and also as part of the forgot-password workflow). The plugin includes a controller and GSPs to manage these instances.The default action for the RegistrationCode controller is search. By default only the standard fields (username and token) are available but this is customizable with the Scripts script - see the section on configuration for details.You can search by any combination of fields, and both fields have an Ajax autocomplete to assist in finding instances. Leave both fields empty to return all instances.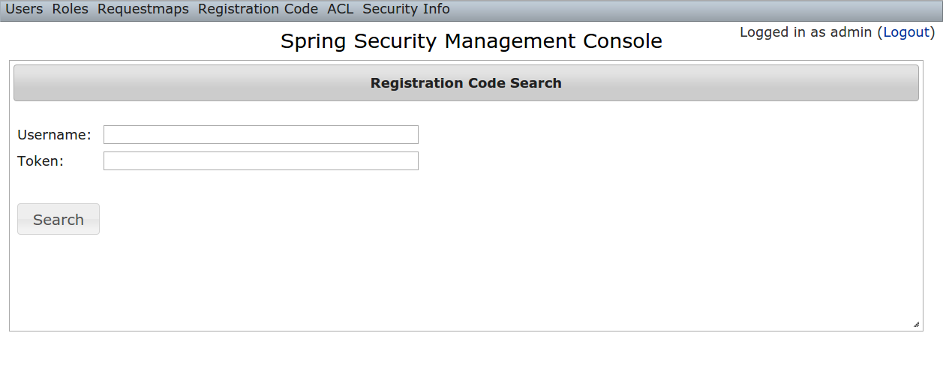 Searching is case-insensitive and the search string can appear anywhere in the field. Results are shown paginated in groups of 10 and you can click on any header to sort by that field:
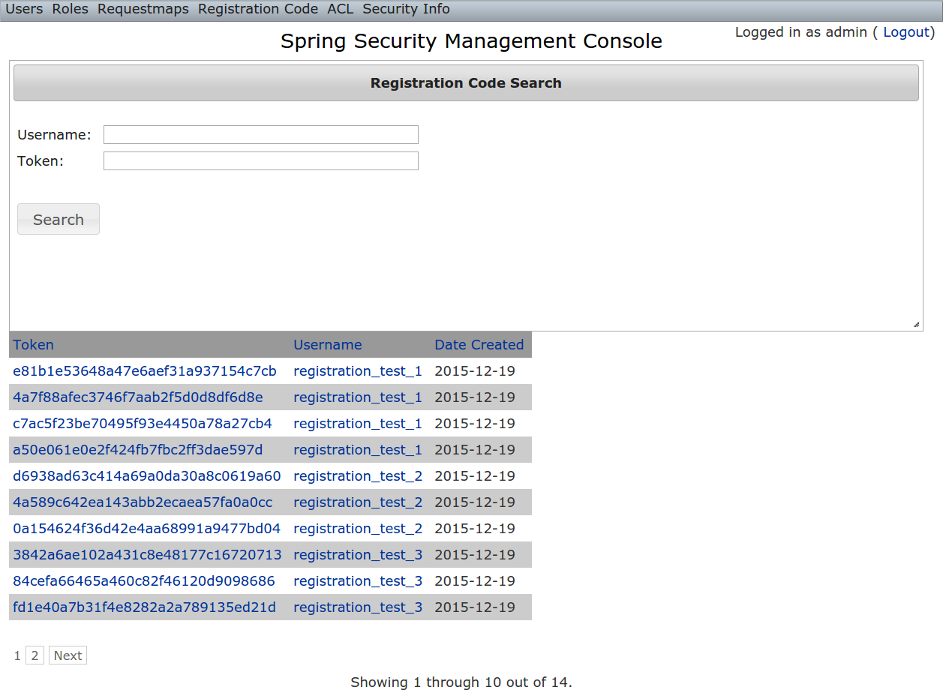
RegistrationCode edit
After clicking through to a RegistrationCode you get to the edit page (there are no view pages):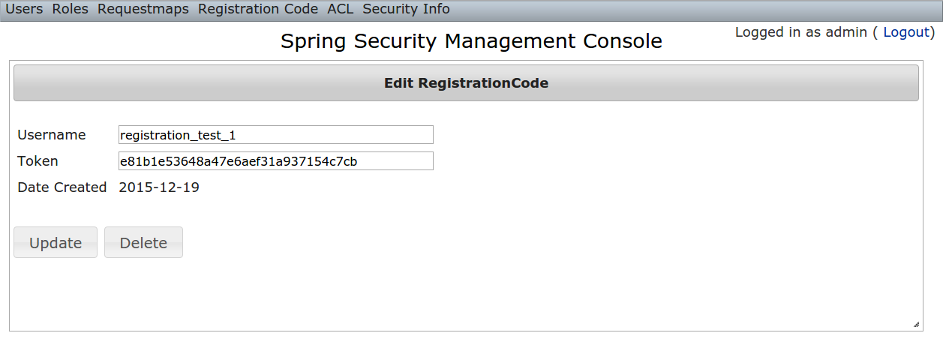 You can update the
 username or token attribute or delete the RegistrationCode.Since instances are created during the "User Registration" and "Forgot Password" workflows, there is no functionality in this plugin to create new instances.